Import File
Complete system designs can be imported directly from JBL Venue Synthesis (3D) or Line Array Calculator (2D) acoustic prediction software. Importing a file is a quick and efficient process, System Groups are brought in directly from the design file exactly as they were constructed in the prediction software including DSP settings and Array parameters.
Selecting a File
The import process begins by selecting a valid project file. Within the Import Window, selecting the ![]() button will open a file dialog, select the design file you wish to import.
button will open a file dialog, select the design file you wish to import.
Supported File Types
-
Line Array Calculator version 3.9 and above
-
Venue Synthesis version 1.0 and above
Supported System Groups
-
SRX900 Series devices
If the selected project file contains devices that are not compatible with JBL Performance, a warning message will pop-up to indicate that those devices have been excluded from the import.

Navigating the File Contents
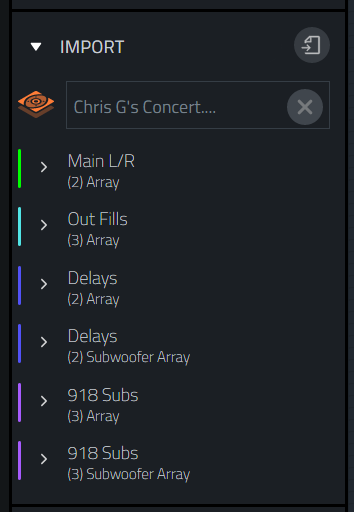
Once a file has been selected, the import window will display all of the System Groups contained inside the project. Each System Group will be listed by it's group name and will have a color band to the left to help identify different groups.
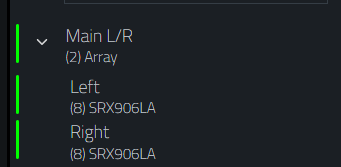
Select the  Icon to open a system group within the import window to see the devices that make up the arrays within.
Adding System Groups to the Workspace
To complete the import process, drag and drop any, or all of the System Groups listed in the Import window into the Workspace.
![]()
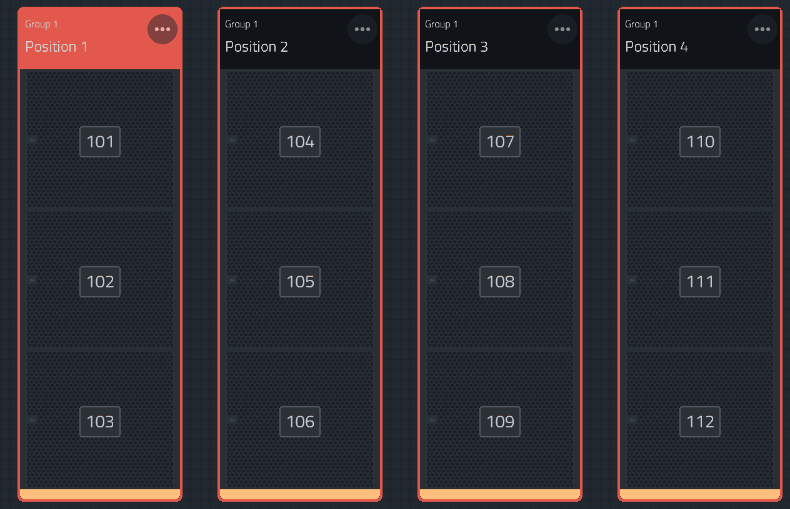
The complete groups will populate as they have been built in the originating prediction software, all Array parameters and any DSP applied within the prediction file will be automatically applied to the imported array. Alternatively, System Groups can be dragged from the import window into empty System Group Templates.
Restoring System Groups
Restore a single System Group
After any System Group has been added to the Workspace, a gray ![]() icon will be displayed next to the System Group name in the Import Window. Select the
icon will be displayed next to the System Group name in the Import Window. Select the ![]() icon next to any System Group to restore its parameter to match the original version imported from the imported file.
icon next to any System Group to restore its parameter to match the original version imported from the imported file.
After selecting the ![]() icon a Scope Window will be shown. Any parameters unchecked here will retain the current parameter data of the System Group in the Workspace and not be overwritten with the originally imported data.
icon a Scope Window will be shown. Any parameters unchecked here will retain the current parameter data of the System Group in the Workspace and not be overwritten with the originally imported data.
Restore ALL System Groups
An additional ![]() will be displayed at the Venue level in the Import Window. Select this icon to simultaneously restore every System Group in the Workspace to the original parameter data from the imported file.
will be displayed at the Venue level in the Import Window. Select this icon to simultaneously restore every System Group in the Workspace to the original parameter data from the imported file.
Updating System Groups
If hardware, DSP, or array parameters are modified in Venue Synthesis or LAC-III for the file loaded in the Import Window, the System Groups can be updated without re-importing from scratch—preserving details like HControl IDs and workspace positions.
Update a Single System Group
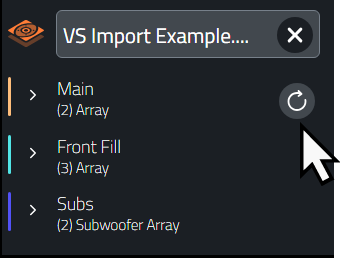
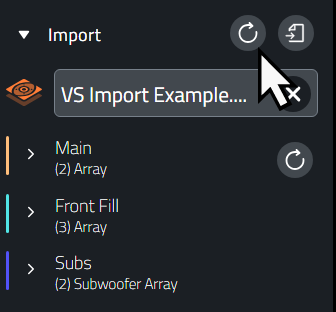
Within the Import window, the blue ![]() icon will automatically appear next to any System Group in the Workspace where a change is detected within the file loaded in the Import Window. For iPad OS, the file will need to be manually refreshed by pressing the import file button due to OS limitations.
icon will automatically appear next to any System Group in the Workspace where a change is detected within the file loaded in the Import Window. For iPad OS, the file will need to be manually refreshed by pressing the import file button due to OS limitations.
Select the blue ![]() icon to update the System Groups in the Workspace with the updated data from the file loaded in the Import Window.
icon to update the System Groups in the Workspace with the updated data from the file loaded in the Import Window.

Depending on the changes made to each imported System Group, one of two update behaviors will be observed:
Updated DSP Parameters
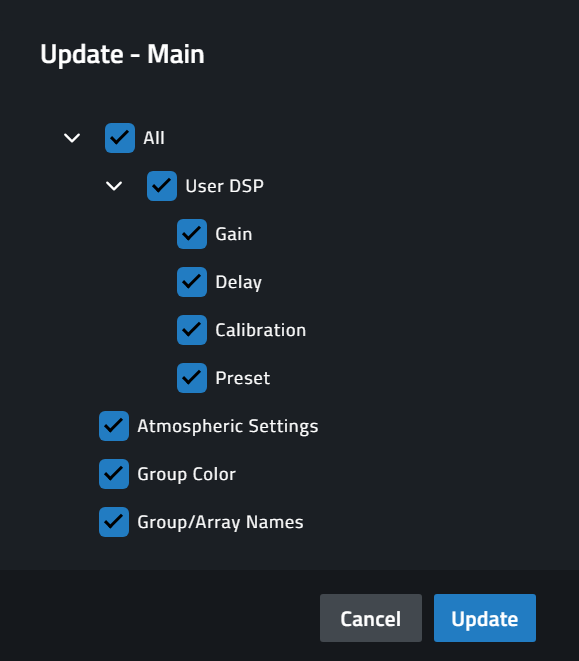
If the updates to the imported System Group consists only of changes to the DSP parameters or Atmospheric Settings, a pop up will be displayed giving users the ability to de-select various parameters from the imported System Group. Parameters that are de-selected here will not be overwritten in the System Group in the workspace. By default, all parameters are selected.

Updated Speaker or Array Quantity
If the quantity of arrays within the System Group or the number of speakers in each Array is changed in the updated file, all of the System Group data will need to be overwritten. In this case the DSP selection option will not be presented, Users will have the option to confirm or cancel the update.
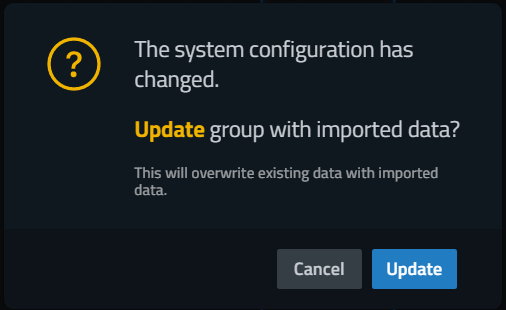
In either case, select the  button to complete the update. A green toaster message will notify users of a successful update.

Repeat these steps for any additional System Groups that need to be updated.
Update ALL System Groups
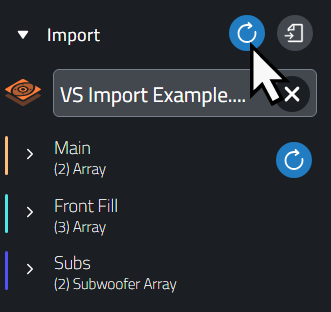
All System Groups can be updated simultaneously to the latest parameter data from the file loaded in the Import Window by selecting the blue ![]() icon at the Venue Level.
icon at the Venue Level.
The same update Behaviors will be observed for each system group as described in Update a Single System Group.
Incompatible Updates
Performance will reject any System Group update that includes changes to System Group or Speaker Type. In this case, the System Group will turn red to indicate an incompatible update when dragging the updated System Group on top of the System Group in the workspace.
NOTE: If a user completes a drag-and-drop from the Import Window onto a System Group already in the Workspace that cannot be updated, a red toaster message will be displayed.
